Build a Map
Build & publish
What you’ll need
- Unreal Engine 5.8
- Creator Kit v0.4.30 Alpha
- Steam account that owns / has launched VR Realms
- ~10 GB disk for project + cook cache
Building the level
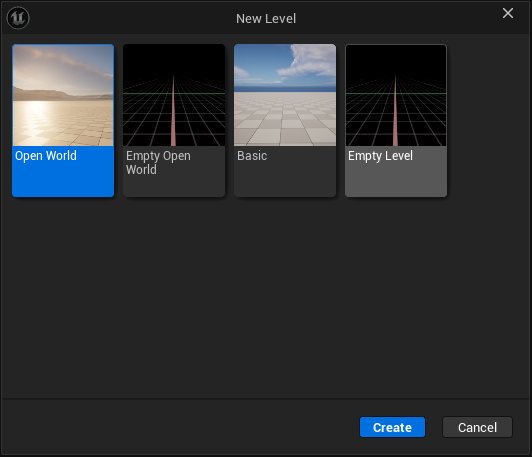
- Open the kit → File → New Level (Empty or Open World; keep small for VR).
- Build geometry, lighting, materials, sounds as usual. Connect each sound to a player volume slider: see Sound & music.
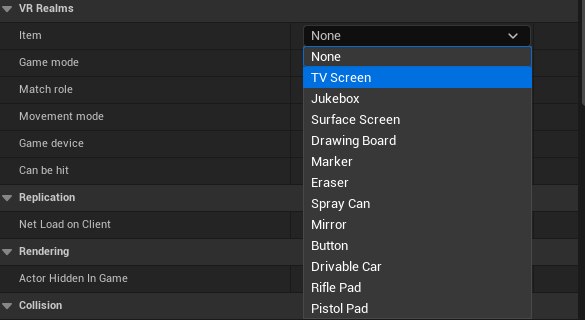
- Interactives: drag
BP_VRItemMarker, pick Item in Details. - Save anywhere. The tool gathers referenced assets on Build and moves them into the item folder. See what Build does with your files.
The item folder name is permanent, so pick a good Item name the first time.
PlayerStart and spawn
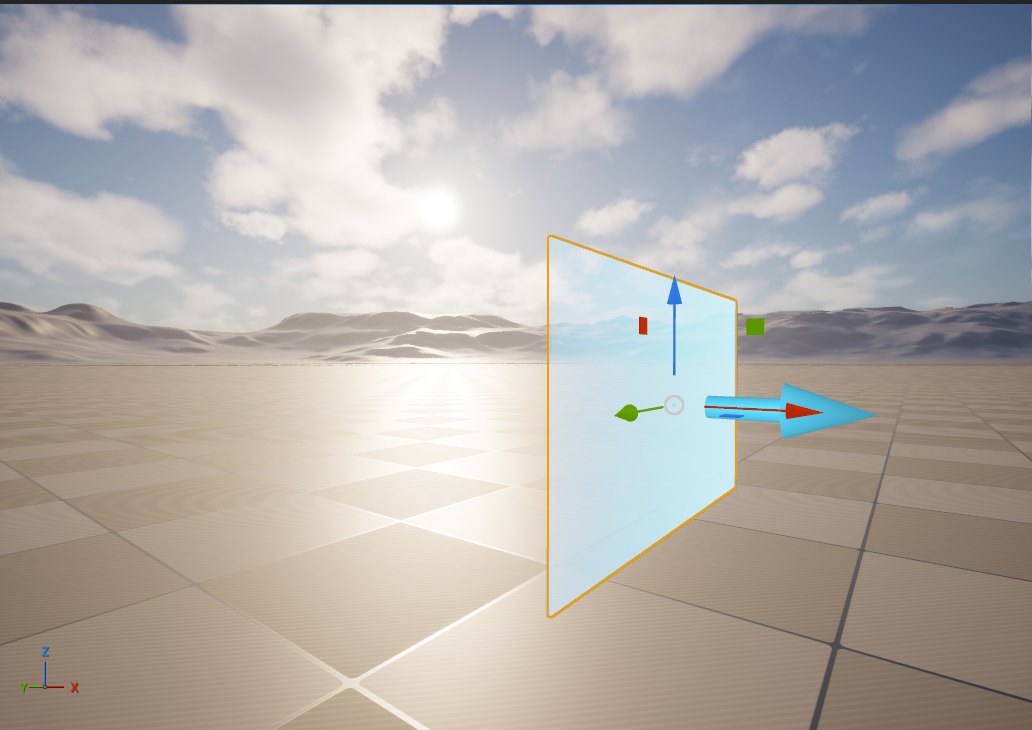
- At least one PlayerStart, at eye height ~165 cm / 65"
- ≥2 m clear space so players don’t spawn in geometry
- Multiple PlayerStarts for multiplayer
Build and publish
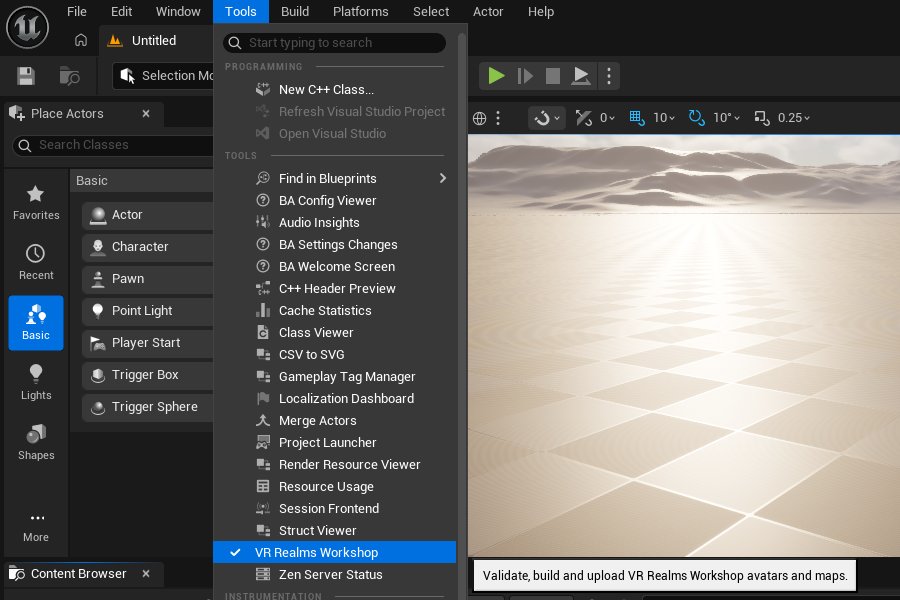
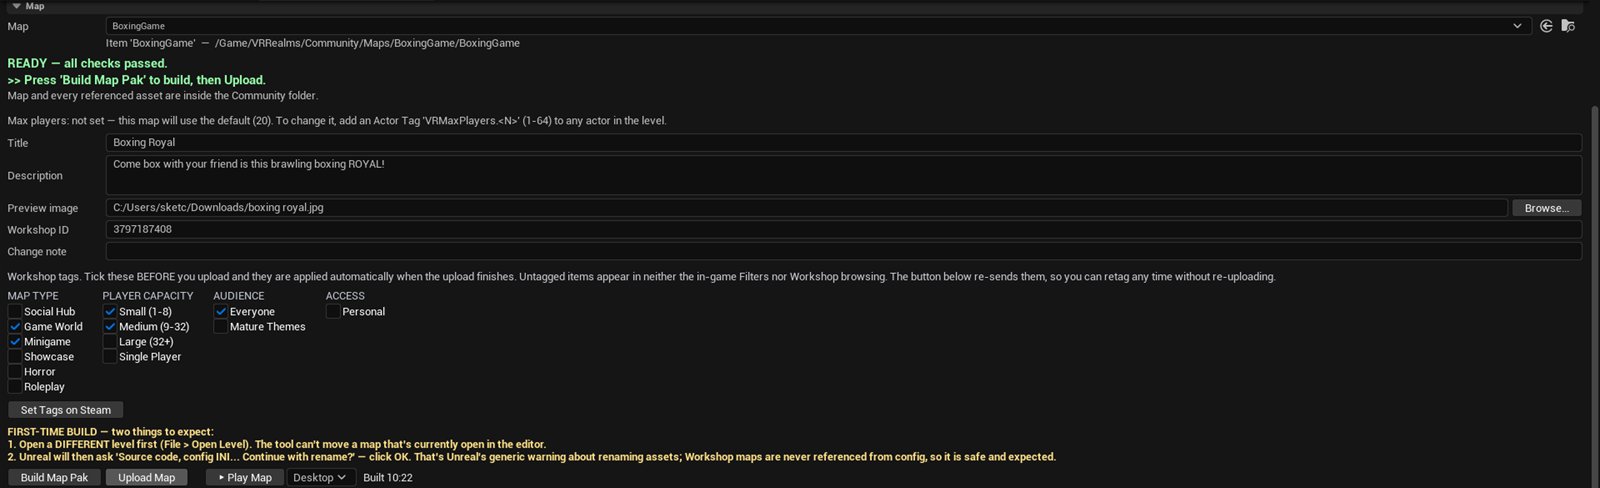
- Tools → VR Realms Workshop → Map section
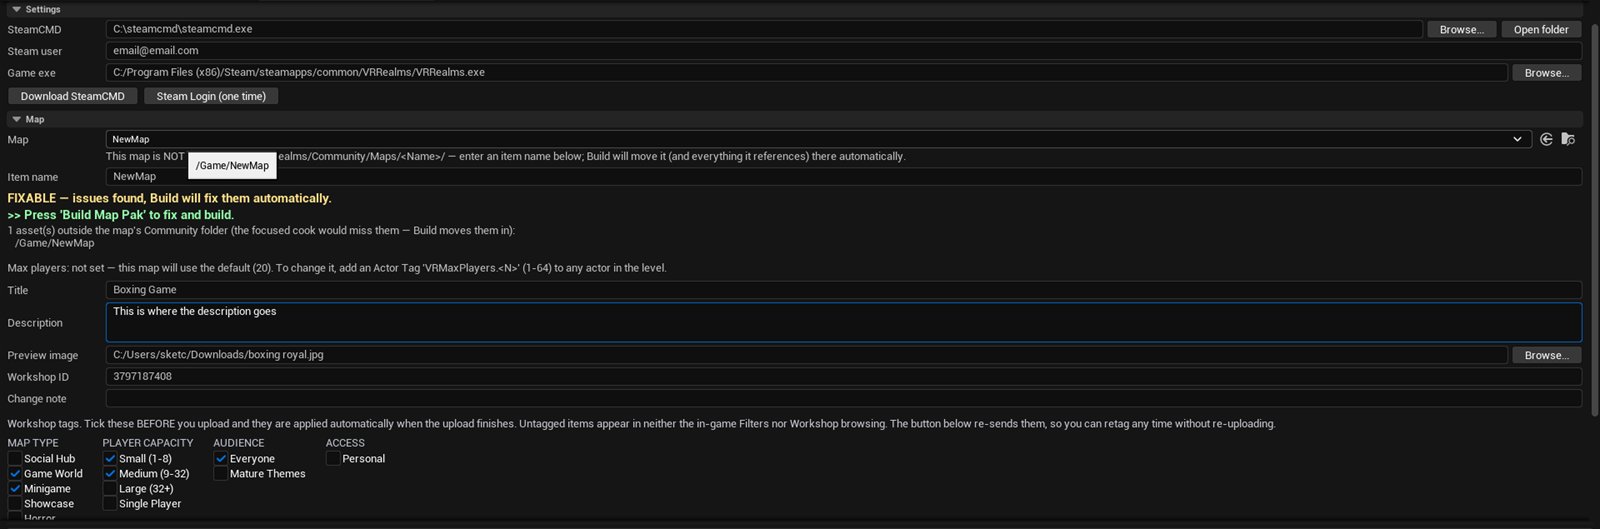
- Pick level → green READY or amber FIXABLE
- Item name if asked, which becomes the folder
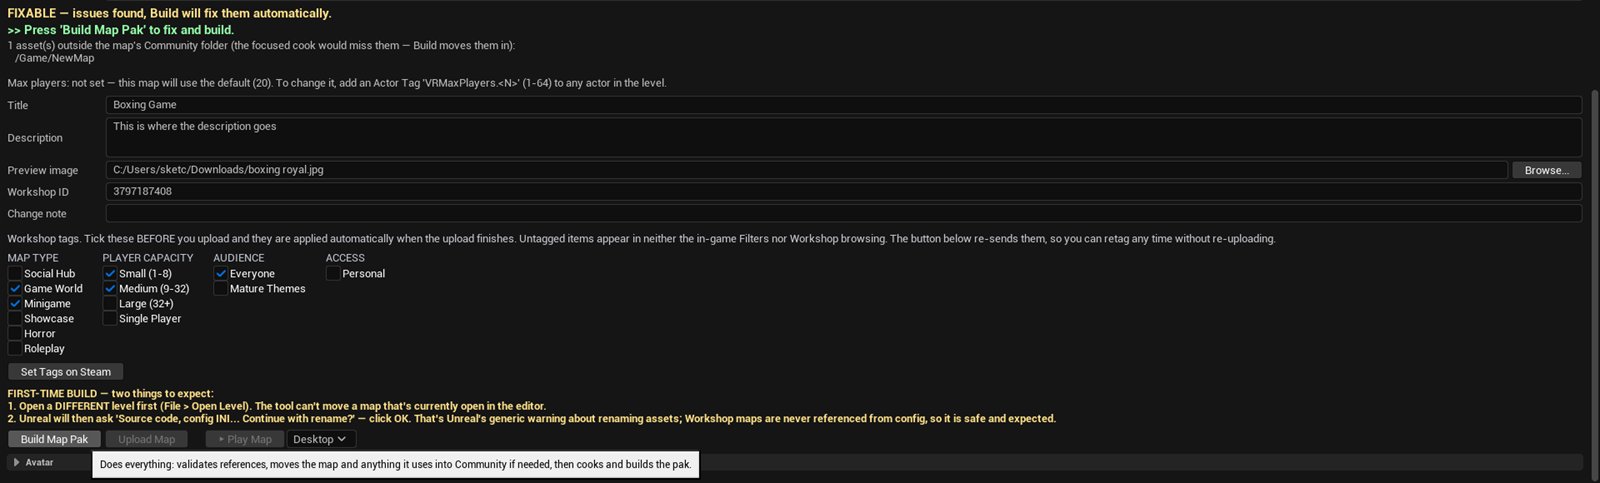
- Build Map Pak (switch level first if the open map is selected; 3–15 min first cook)
- Title, Description, Preview image → Upload Map
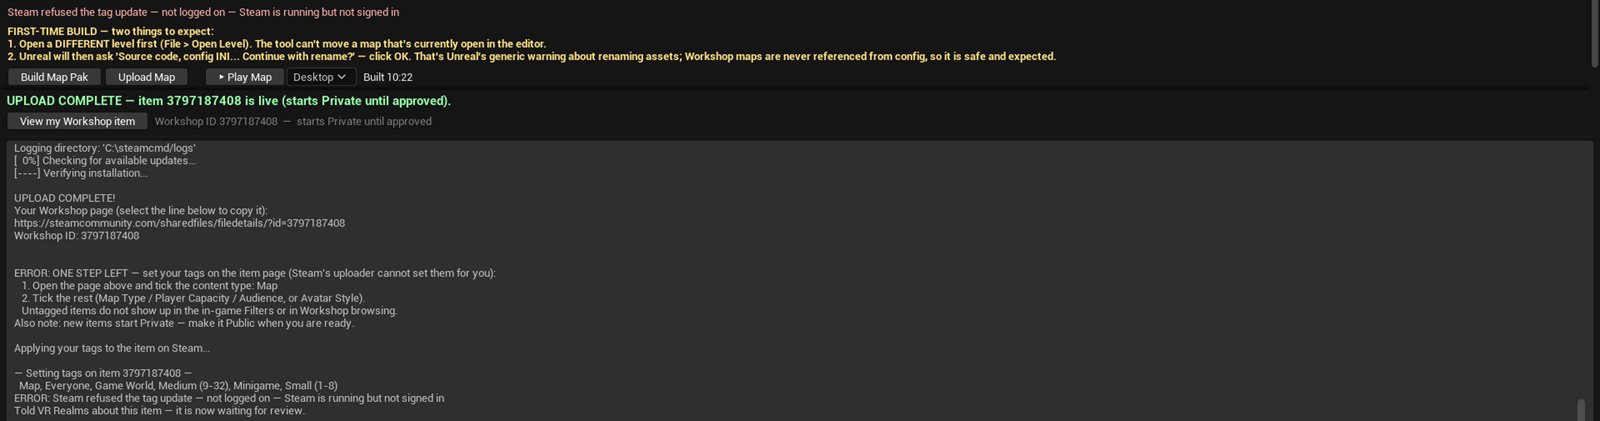
- Tags: tick Map Type, Player Capacity and Audience in the panel before you upload; they are applied when the upload finishes (Steam must be running and signed in)
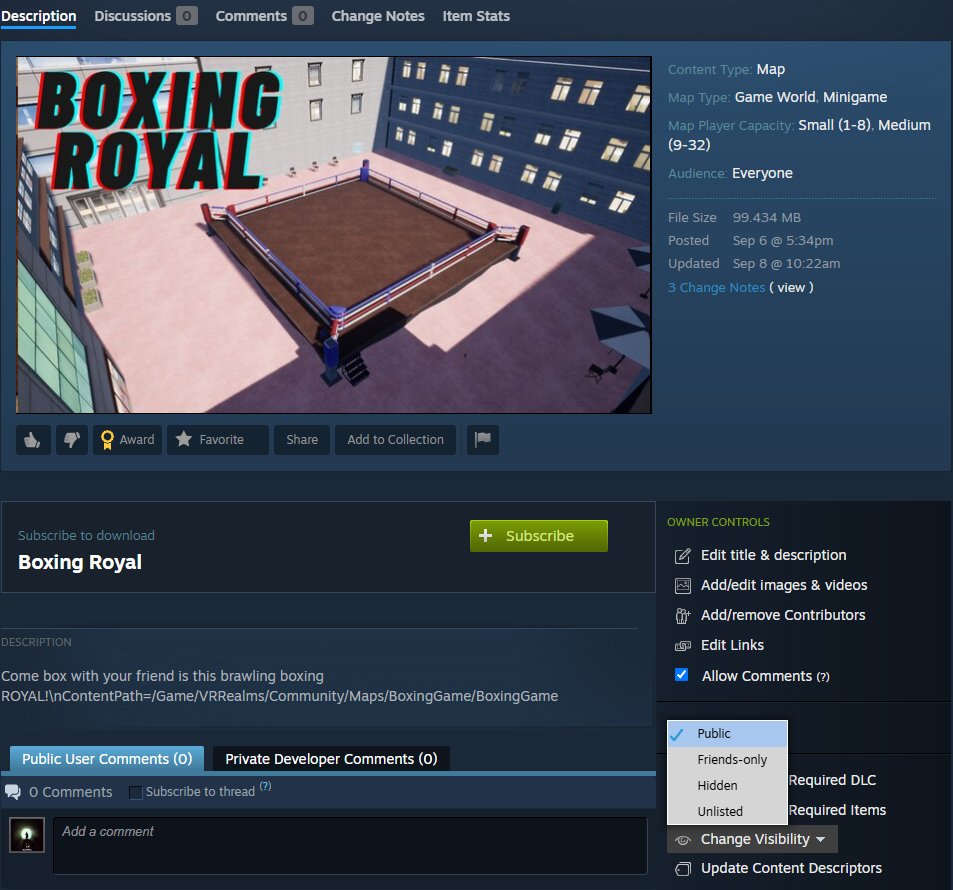
- Steam: open the item page and set visibility to Public when you are ready
What Build does with your files
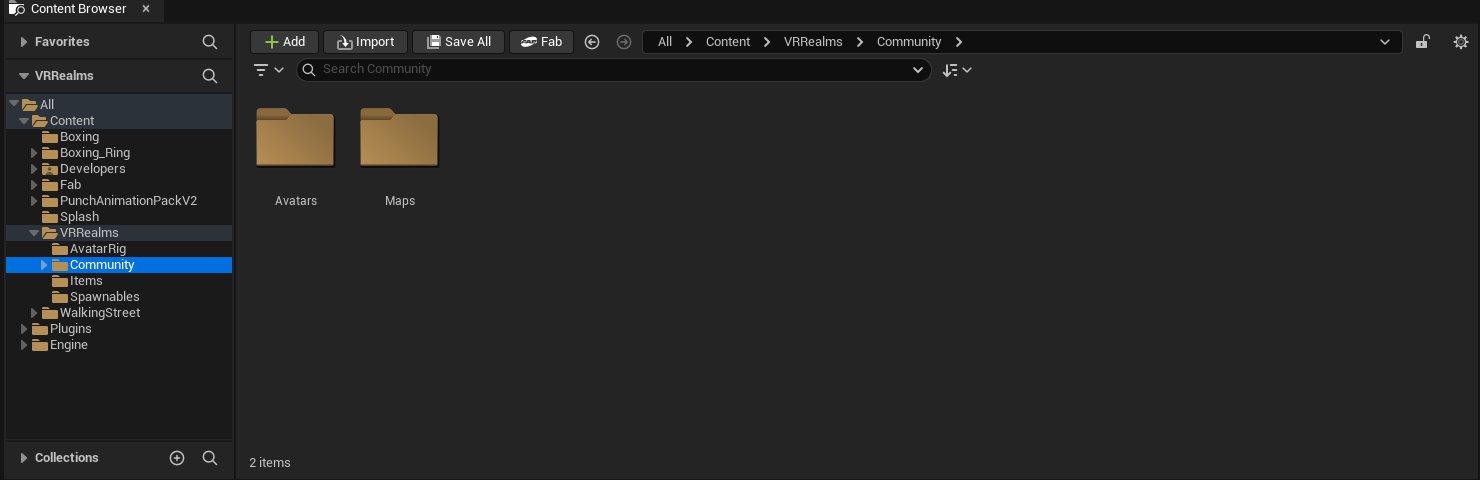
The first time you press Build Map Pak, the tool moves your level and everything the level uses into Content/VRRealms/Community/Maps/(your Item name). That covers meshes, materials, textures, sounds and Blueprints, wherever you had them saved. Nothing is deleted and nothing is lost. It all lives in that one folder now, with the same subfolders it had before, and everything still points at the right files.
It moves the files instead of copying them, for three reasons:
- Your map pack is made from that one folder. Anything left outside it would be missing in game.
- Only what the level really uses comes along. The unused parts of a store pack stay where they were, so they never make your download bigger.
- Every Workshop map has its own folder, so two maps can never overwrite each other’s files.
The kit’s own content, such as the item marker and the ready made props, stays where it is. The game already has it.
Changing your map later
Keep working inside that folder. Open the level from Content/VRRealms/Community/Maps/(your Item name), change, add or remove whatever you like, then press Build Map Pak again and Upload Map to update the same Workshop item.
You can still bring in new assets from anywhere in the project. The next Build moves the new ones in beside the rest.
Starting a second map
- Make a new folder in Content, outside VRRealms/Community, and save your new level there.
- Build the level as usual.
- In the panel, pick the new level and give it its own Item name.
- Press Build Map Pak. The new map gets its own folder under Community/Maps, next to your first one.
Test in-game
Subscribe on Steam → wrist menu → Host Workshop Map. Your items always load locally; approval only gates the public browser.